26f7.png)
Top 5 Squarespace Hacks You Should To Know!
Squarespace is an amazing platform but no one wants to look like someone else
Check out these 5 customizations you can implement today to give your site a more professional and custom look!
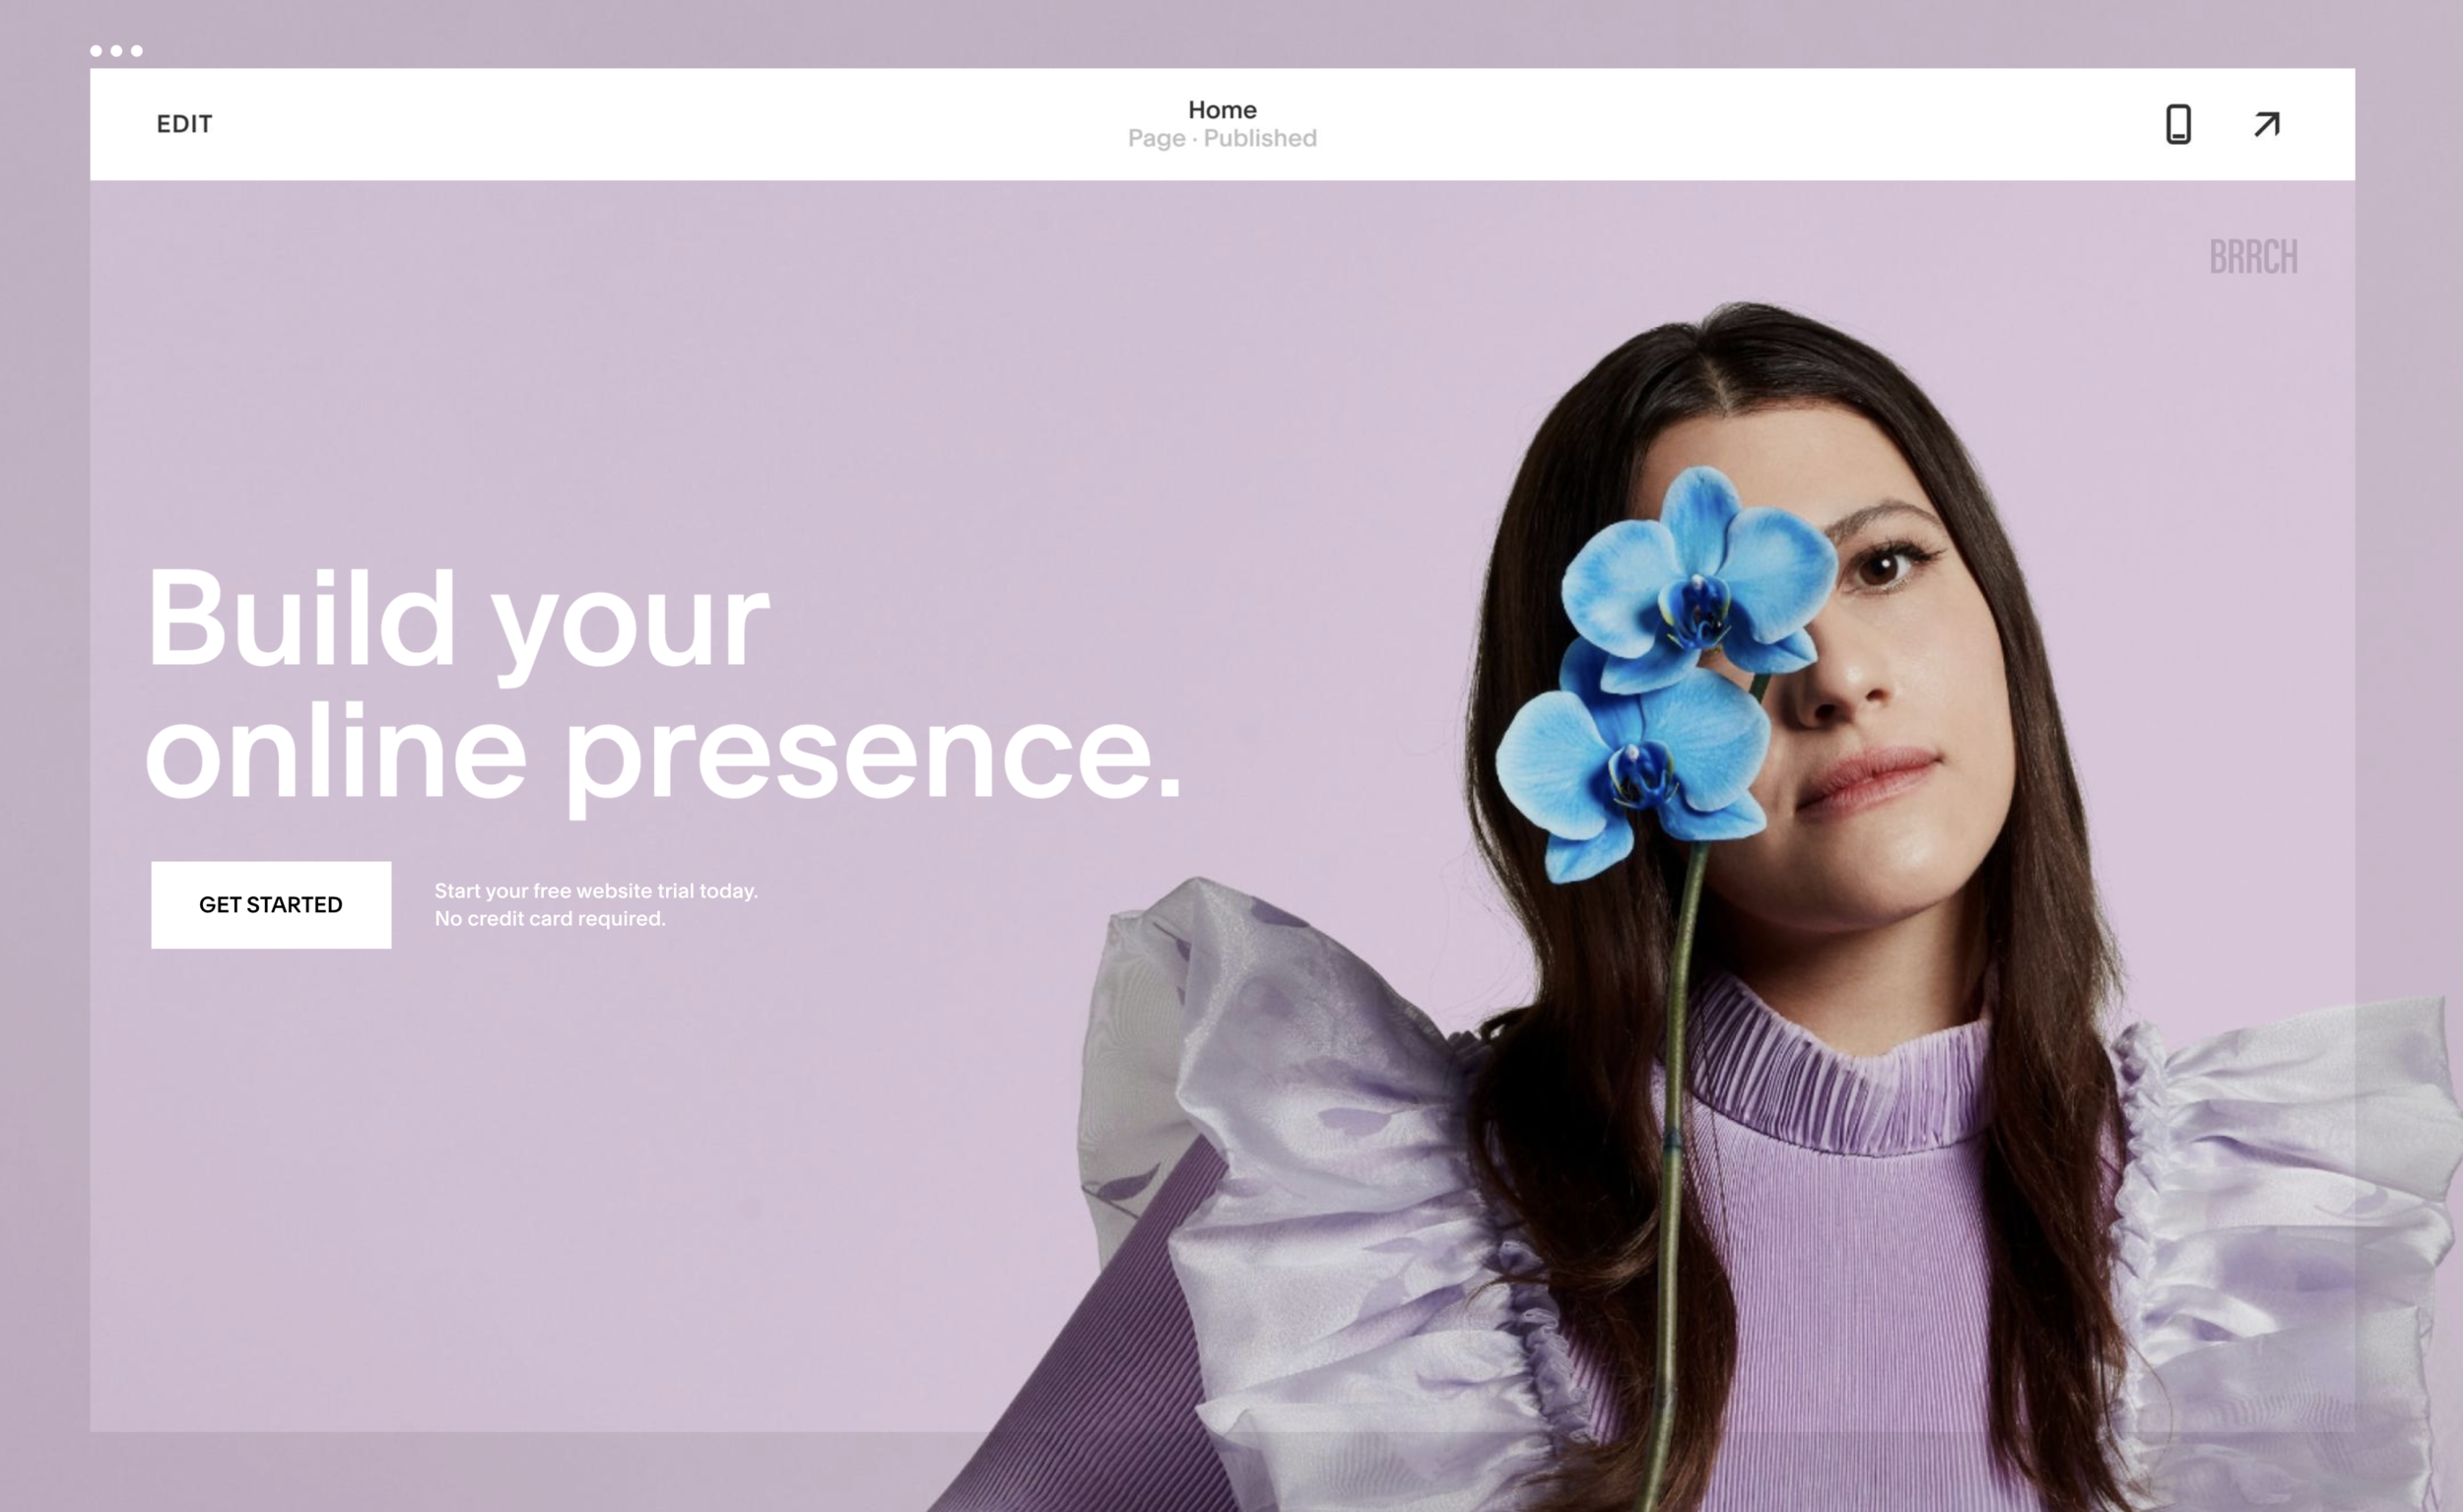
1. Cover Pages
Cover pages are a great way to add a splash to your website, in fact, you can think of it like a splash page. There are a lot ways you can use a cover page, including: full-page pop-up on your website, promotional sign up, course sign-up, newsletter sign up, event RSVP - and more!


2. Custom Logo + Fav Icon
A custom logo is incredibly helpful in increasing credibility with your audience. You can add it to all marketing materials, and create a “brand style” that is consistent across all platforms.
If you don’t have a logo, don’t stress! Even the most simple logo can give a more elegant and professional look to your business, and make you more memorable. Your logo should always be: easy to read, show on every page, link people back to your home page.
To create a free logo today - check out my last post: How to Create a Free Logo You Love
Now, let’s talk favicon - What is it?
A favicon is the little icon that shows up on your browser tab, next to the title of the website. This can often be something that’s looked over, but can easily make you look less professional.
no fav-icon example

custom favicons:

How to: add your favicon to squarespace
Log into Squarespace
Click Design > Logo & Site Title
Upload your Favicon and upload your logo or create a new logo
3. Testimonial slider
One of the best ways to build trust with your prospects and clients is to showcase social proof that you can deliver what you say you deliver, and testimonials are a great way to do that.
This snazzy little customization will allow you to have a Testimonial slider like the one above.
To learn how to create your own testimonial slider, check out the tutorial we put together by clicking here.

4. Pop-up contact form
This pop-up customization can give your site a more polished look, keeping the user on the same page while instantly capturing their information with a custom form.
It looks a little something like this:
How to do it:
Add the form block to your desired page
Select Advanced from the tabs at the top
Scroll to the bottom and select ENABLE LIGHTBOX MODE
Add your button text in the box below and click save
5. Put a button in your navigation
Having a button in your navigation is a great way to entice viewers to take action! Make your Contact button stand out, or link to an external website (like your etsy shop, online course, etc) or whatever floats your business. Watch this video or follow the steps below to add a button to your nav:
Navigate to Pages section in Squarespace
Add the link or page you want to turn into a button under SECONDARY NAVIGATION
Go back to the Squarespace Main Navigation and click on DESIGN
Click on the link you just created on the main website display and a new menu will appear on the left.
Deselect “INHERIT PRIMARY NAVIGATION STYLES” to reveal more styling options for your button
To move your soon-to-be-button to the right spot on your navigation, click the SECONDARY NAVIGATION STYLES and select where you’d like the button to be
Under HEADER: SECONDARY NAVIGATION, start styling your button
Change the STYLE to BUTTON
Edit colors, fonts, etc.
Click Save!

Alrighty, folks
THAT’S IT! THAT’S ALL YOU NEED!
….. Just kidding!
If you’ve been following me for awhile than hopefully you know by now that there are several components (more than what can be put on a list) that go into creating a professional and unique website that gets you real results. :)
If you’re not following me yet, but this was useful and you wouldn’t mind more useful stuff once a week, let’s do this: